Natural light is a crucial element in outdoor portrait photography. It can make or break a shot, and knowing how to use it effectively can be the difference between a mediocre photo and a stunning one. In this article, we will explore the best ways to use natural light for outdoor portrait photography.
The first step in using natural light effectively is to understand the different types of light. Direct sunlight can be harsh and create unflattering shadows, while diffused light can be soft and create a more flattering effect. Understanding the direction of light is also important, as backlit subjects can create a beautiful halo effect, while front-lit subjects can appear flat and uninteresting. By understanding the different types and directions of natural light, photographers can make informed decisions about how to position their subjects and capture the best possible shot.
Understanding Natural Light
Qualities of Natural Light
Natural light is the light that comes from the sun and is available everywhere. Understanding how to use natural light is essential for outdoor portrait photography. There are three main qualities of natural light: intensity, direction, and color temperature.
Intensity refers to how bright or dim the light is. The intensity of natural light changes throughout the day, with the strongest light being around noon when the sun is directly overhead. The intensity of light is also affected by weather conditions like clouds, which can diffuse the light and make it softer.
Direction is the angle at which the light is hitting the subject. Side lighting can create dramatic shadows and highlights, while front lighting can create a flat and even look.
Natural light changes color temperature throughout the day, with warmer tones in the morning and evening and cooler tones around noon.
The Golden Hour
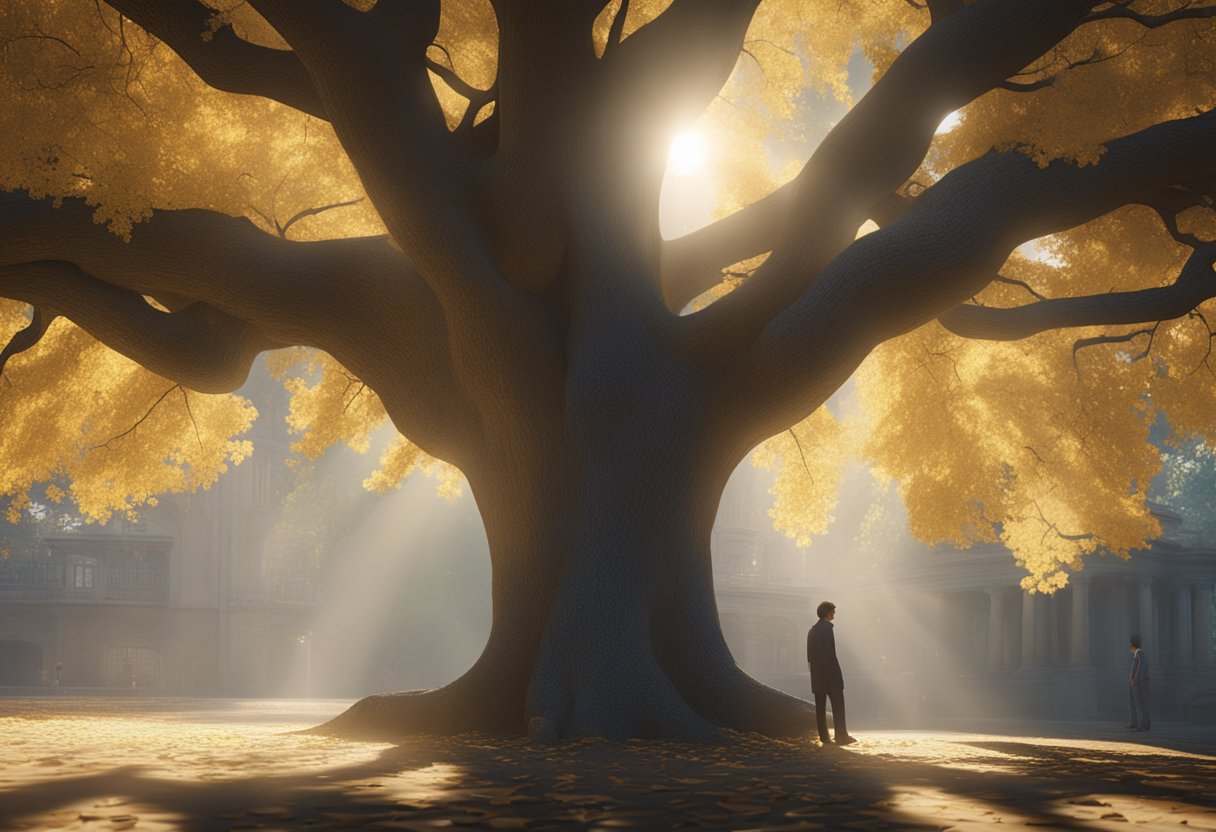
The Golden Hour is a term used to describe the time just after sunrise or just before sunset when the light is soft, warm, and golden. This is the ideal time for outdoor portrait photography as the light is flattering and creates a warm and inviting mood.
During the Golden Hour, the light is coming in at a low angle, which creates long shadows and adds depth and dimension to the portrait. The warm tones also add a natural glow to the skin, making the subject look more vibrant.
Blue Hour and Twilight
Blue Hour and Twilight are the times just before sunrise and just after sunset when the light is cool and blue. These times can create a moody and dramatic look, but they can also be challenging to work with.
During Blue Hour and Twilight, the light is coming in at a low angle, which can create interesting shadows and silhouettes. However, the low light levels can make it challenging to get a sharp and in-focus image without the use of a tripod or other stabilization tools.
Understanding the qualities of natural light and the different times of day when the light is most flattering can help you create stunning outdoor portraits.
Equipment Essentials
To use natural light effectively for outdoor portrait photography, there are a few equipment essentials that every photographer should have in their kit. These essentials include reflectors and diffusers.
Reflectors
Reflectors are a valuable tool for outdoor portrait photography, as they help to bounce light onto the subject’s face, reducing harsh shadows and creating a more balanced look. They come in a variety of shapes and sizes, from small handheld discs to larger collapsible panels.
When using a reflector, it’s important to position it correctly to get the desired effect. If the sun is behind the subject, position the reflector in front of them to bounce light onto their face. If the sun is in front of the subject, position the reflector behind them to fill in shadows.
Diffusers
Diffusers are another essential tool for outdoor portrait photography, as they help to soften harsh sunlight and create a more flattering look. They come in a variety of forms, from small handheld discs to larger frames that can be attached to light stands.
When using a diffuser, it’s important to position it correctly to get the desired effect. If the sun is directly overhead, position the diffuser above the subject to create a softer, more diffused light. If the sun is at an angle, position the diffuser to the side of the subject to create a more even light.
Overall, having reflectors and diffusers in your kit can greatly improve your outdoor portrait photography by allowing you to effectively use natural light to create beautiful, flattering images.
Camera Settings and Techniques
Exposure Triangle
When shooting outdoor portraits with natural light, it’s important to understand the exposure triangle: aperture, shutter speed, and ISO. Aperture controls the amount of light that enters the lens, shutter speed controls the duration of the exposure, and ISO controls the camera’s sensitivity to light. A wider aperture (lower f-number) will allow more light to enter the lens, while a faster shutter speed will reduce the amount of light that reaches the sensor. A higher ISO will make the camera more sensitive to light, but can introduce noise in the image.
To achieve a properly exposed image, the photographer must balance these three settings. A wider aperture can be used to create a shallow depth of field, blurring the background and drawing attention to the subject. A slower shutter speed can be used to create motion blur or capture movement, while a higher shutter speed can freeze action. A lower ISO can be used to reduce noise in the image, but a higher ISO may be necessary in low light situations.
White Balance
White balance is another important setting to consider when shooting outdoor portraits. Different lighting conditions can create different color casts in the image, which can be corrected by adjusting the white balance. Most cameras have automatic white balance settings, but it’s often better to use a custom white balance setting or adjust the white balance manually.
One way to adjust the white balance is to use a gray card or white balance target. This allows the photographer to set a neutral white balance based on the lighting conditions at the time of the shoot. Alternatively, the white balance can be adjusted in post-processing using software such as Adobe Lightroom.
Metering Modes
Metering modes determine how the camera measures the amount of light in the scene. The most common metering modes are matrix, center-weighted, and spot metering. Matrix metering takes into account the entire scene, while center-weighted metering gives more weight to the center of the frame. Spot metering measures the light in a specific area of the frame, usually the center.
When shooting outdoor portraits, it’s often best to use spot metering to ensure that the subject’s face is properly exposed. This can be done by placing the spot meter on the subject’s face and adjusting the exposure accordingly. Alternatively, the exposure can be adjusted in post-processing using software such as Adobe Lightroom.
Composition and Posing
When it comes to outdoor portrait photography, composition and posing are crucial elements to consider in order to use natural light effectively.
Rule of Thirds
This means that the subject of the photo should be placed at one of the intersections of an imaginary grid that divides the photo into thirds both horizontally and vertically. This creates a more dynamic and visually interesting image.
Leading Lines
Leading lines are another important element of composition. They are lines within the photo that lead the viewer’s eye towards the subject. Examples of leading lines include roads, fences, and tree branches. By using leading lines, the photographer can draw attention to the subject and create a sense of depth in the photo.
Subject Placement
The placement of the subject within the frame is also important. Placing the subject in the center of the photo can create a static and boring image. Instead, try placing the subject off-center to create a more dynamic and visually interesting composition. Additionally, be mindful of the background and make sure that it doesn’t distract from the subject.
By keeping these tips in mind, the photographer can use natural light effectively to create stunning outdoor portrait photos.


